

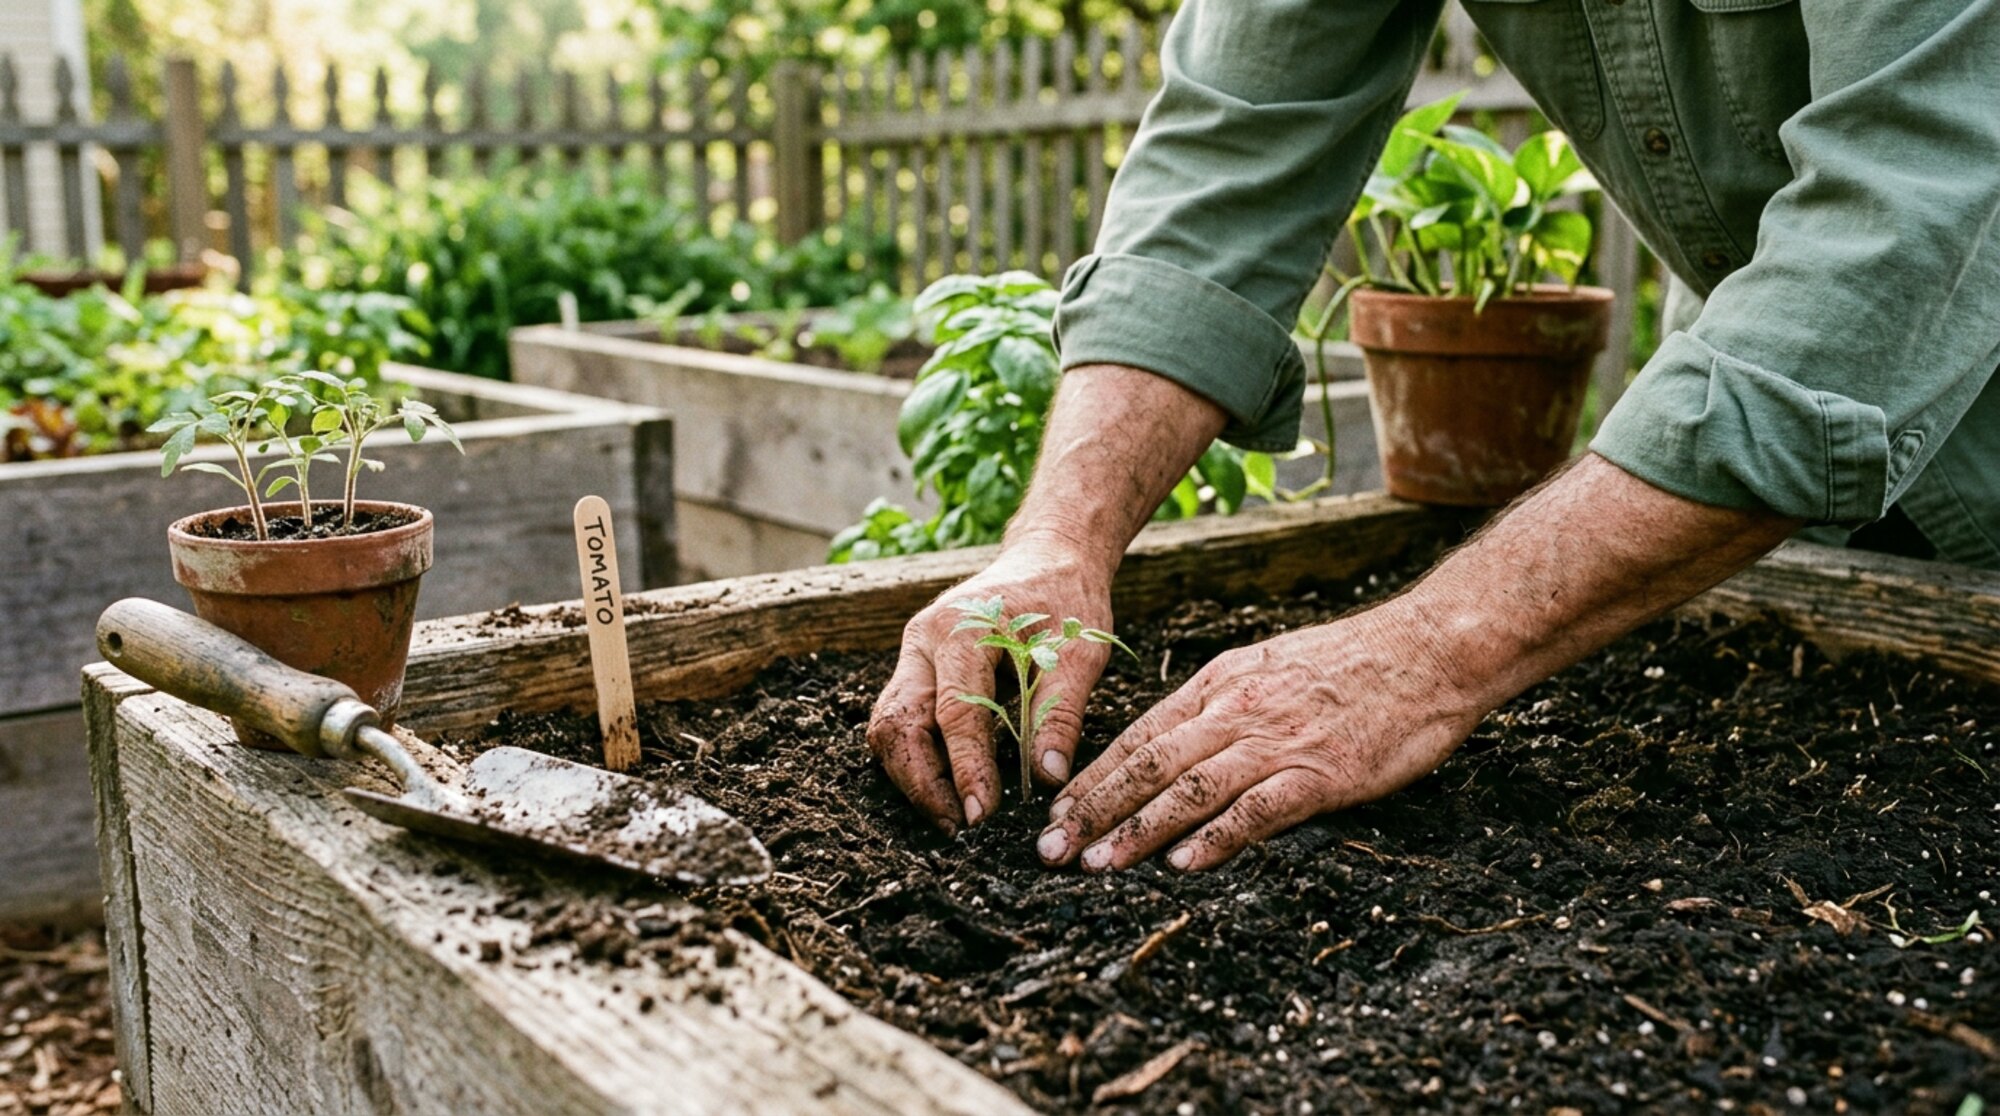
I didn’t grow up gardening. I grew up playing tennis. The first raised bed I ever built went up about a year after my diagnosis, in a corner of the yard I’d been ignoring for years, on a Saturday morning when I just needed to put my hands in something other than a phone. By Sunday night I had basil and cherry tomato seedlings in the ground and a kind of quiet I hadn’t felt in a long time.
Almost everything I know about this stuff I’ve learned by doing it badly first. So this isn’t the definitive guide — it’s the one I wish someone had handed me before I started. Skim the parts you already know. Steal the parts you don’t.
Why a raised bed
A raised bed is the kindest place to start. You get to bypass whatever soil came with your house, you don’t bend over as much, the bed warms up faster in spring, and you can run a season without learning every weed and pest in your zip code. If you have ten square feet of sun, you have enough.
I’d build it out of cedar or untreated pine — not pressure-treated lumber, which leaches things you don’t want anywhere near food. A first bed of 4×8 feet, 12 to 18 inches deep, will keep a household in herbs, tomatoes, and salad most of the summer. Put it where it gets at least six hours of direct sun. South or west exposure if you have the choice.
Soil: the only thing that really matters
Plants don’t grow in dirt. They grow in living soil — a community of bacteria, fungi, and tiny invertebrates that hand nutrients back and forth in ways we still don’t fully understand. Your job, really, is just to set that community up and stay out of its way.
For a new bed I do a simple, very forgiving mix:
- 50% high-quality topsoil — OMRI-listed if you can find it, from a local landscape supply, not the cheapest bag at a big-box store.
- 30% organic compost — a blend of two or three sources is even better (mushroom compost, worm castings, leaf mold).
- 20% aeration — coarse perlite, pumice, or just shredded leaves and a little coconut coir. This is the part most beginners skip and the part that makes the biggest difference. Soil needs to breathe.
Skip anything labeled “garden soil with fertilizer” — the synthetic nitrogen burns the microbial life you’re trying to build. The phrase to look for instead is OMRI-listed, which means it’s been reviewed for certified organic production.
Use your compost
If you’re going to do one thing besides plant the bed, do this one: keep a kitchen compost going. Even a small countertop pail and a tumbler outside is enough. Vegetable scraps, coffee grounds, banana peels, eggshells, used tea, leaves and clippings from the yard — all of it. Skip meat, dairy, oils, and anything in a wrapper.
Once a season I top-dress every bed with an inch of finished compost. That’s it. No tilling, no turning the soil over, no synthetic fertilizer. The worms and fungi do the mixing for you while you sleep. Healthy soil is a savings account: every scrap you put back is interest the next crop gets to spend.
Little tricks I actually use
These are the small habits that turned my garden from “sometimes works” into “mostly works.” None of them cost anything.
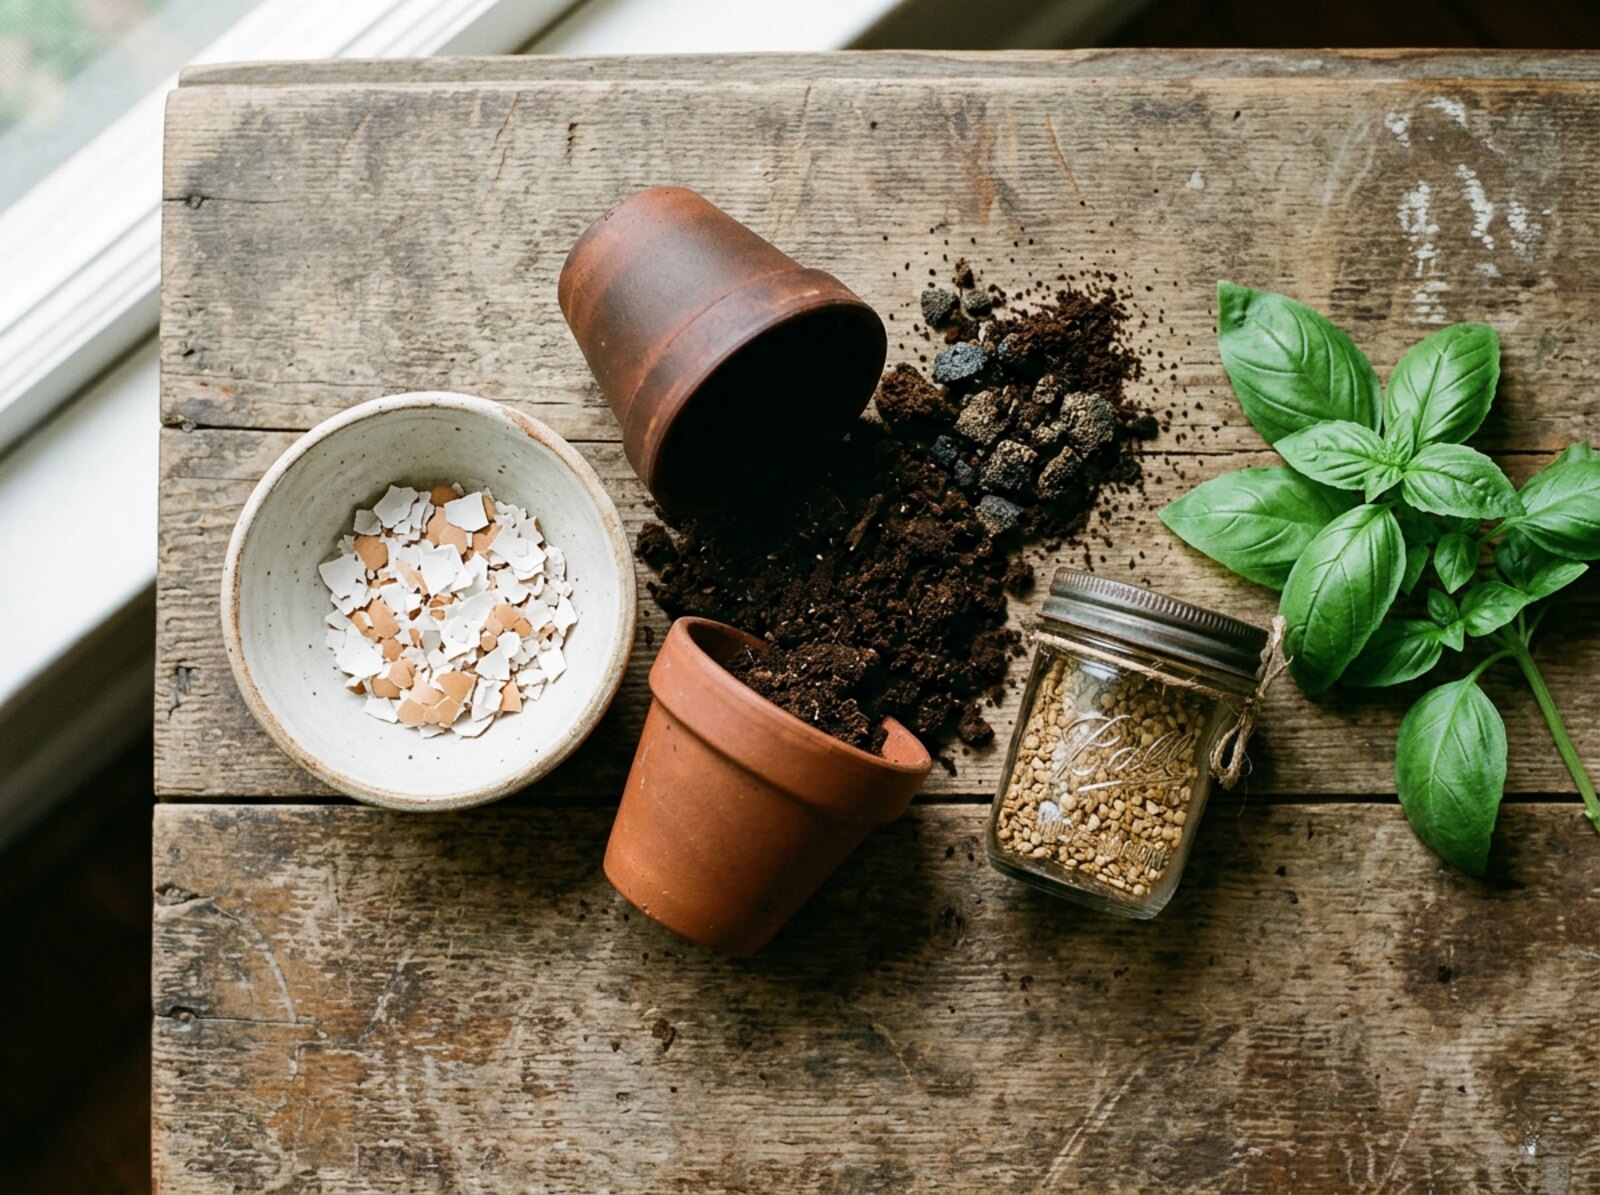
- Crushed eggshells. Rinse, dry, and grind them in a coffee grinder or a mortar. Sprinkle a tablespoon in the hole when you transplant tomatoes and peppers — the calcium helps prevent blossom-end rot, which is the heartbreak of a half-ripe tomato turning black on the bottom. I also scatter a handful around the base of established plants midseason.
- Coffee grounds. Used grounds add nitrogen and acidity — great for tomatoes, blueberries, and peppers. I add them to the compost rather than dumping them straight on the soil. Half a cup per square foot is plenty.
- Banana peel water. Chop a peel into a quart jar of water, let it sit for two or three days, then pour around flowering plants. The potassium boost helps with fruit set. Looks weird, works.
- Companion planting. Basil next to tomatoes (it really does seem to improve flavor and ward off some pests). Marigolds around the border to keep nematodes away. Nasturtiums to lure aphids away from your peppers. The garden likes neighbors.
- Mulch like you mean it. Two inches of straw or shredded leaves on top of the soil keeps moisture in, weeds down, and the microbiome happy. Don’t leave bare soil. Bare soil is a wound.
- Water deep, water early. A long, slow soak two or three times a week beats a daily sprinkle. Morning is best — plants drink it up before the heat, and leaves dry off before nightfall (wet leaves overnight invite mildew).
Where to source organic seeds
I’m picky about seeds because seeds carry forward whatever you start with. I look for three things on a packet: certified organic, open-pollinated or heirloom, and non-GMO. If you can find regionally adapted varieties (bred for your climate), even better.
Companies I’ve had consistently good seed from:
- Baker Creek Heirloom Seeds (rareseeds.com) — huge heirloom catalog, beautiful varieties, all non-GMO.
- High Mowing Organic Seeds — 100% certified organic, Vermont-based, no-pledge non-GMO since the beginning.
- Seed Savers Exchange — a nonprofit preserving heritage seed varieties; buying from them helps fund their seed bank in Iowa.
- Johnny’s Selected Seeds — employee-owned, signed the Safe Seed Pledge, lots of organic options and a great planting calculator.
- Fedco Seeds — cooperatively run, plain catalog, honest growing notes.
A local farmers’ market is often the best source of all — ask if any of the vendors save their own seed. They’re usually thrilled to share.
How to sprout seeds (the basics)
Most things in the garden start better indoors, four to eight weeks before your last frost. The setup is humble:
- A seed-starting tray with drainage holes (or recycled yogurt cups with holes poked in the bottom).
- Seed-starting mix — lighter and finer than potting soil, designed for tiny roots. Pre-moisten it so it’s the texture of a wrung-out sponge.
- A sunny south-facing window, or a basic LED grow light a few inches above the tray.
- A spray bottle for misting. Watering with a stream washes seeds out.
- Plastic dome or plastic wrap over the tray until they germinate — then off it comes.
Plant the seed at a depth roughly twice its width. Tiny seeds (basil) get barely covered. Bigger ones (cucumber) go about a half-inch down. Keep the soil warm — 70 to 80°F is the magic range for most summer crops. A heat mat under the tray makes a huge difference for tomatoes and peppers.
Once the seedlings have their first set of true leaves (the second pair, which actually look like miniature versions of the adult plant’s leaves), thin to one strong plant per cell. It feels brutal. Do it anyway. Crowded seedlings stay weak forever.
The four I’d plant first
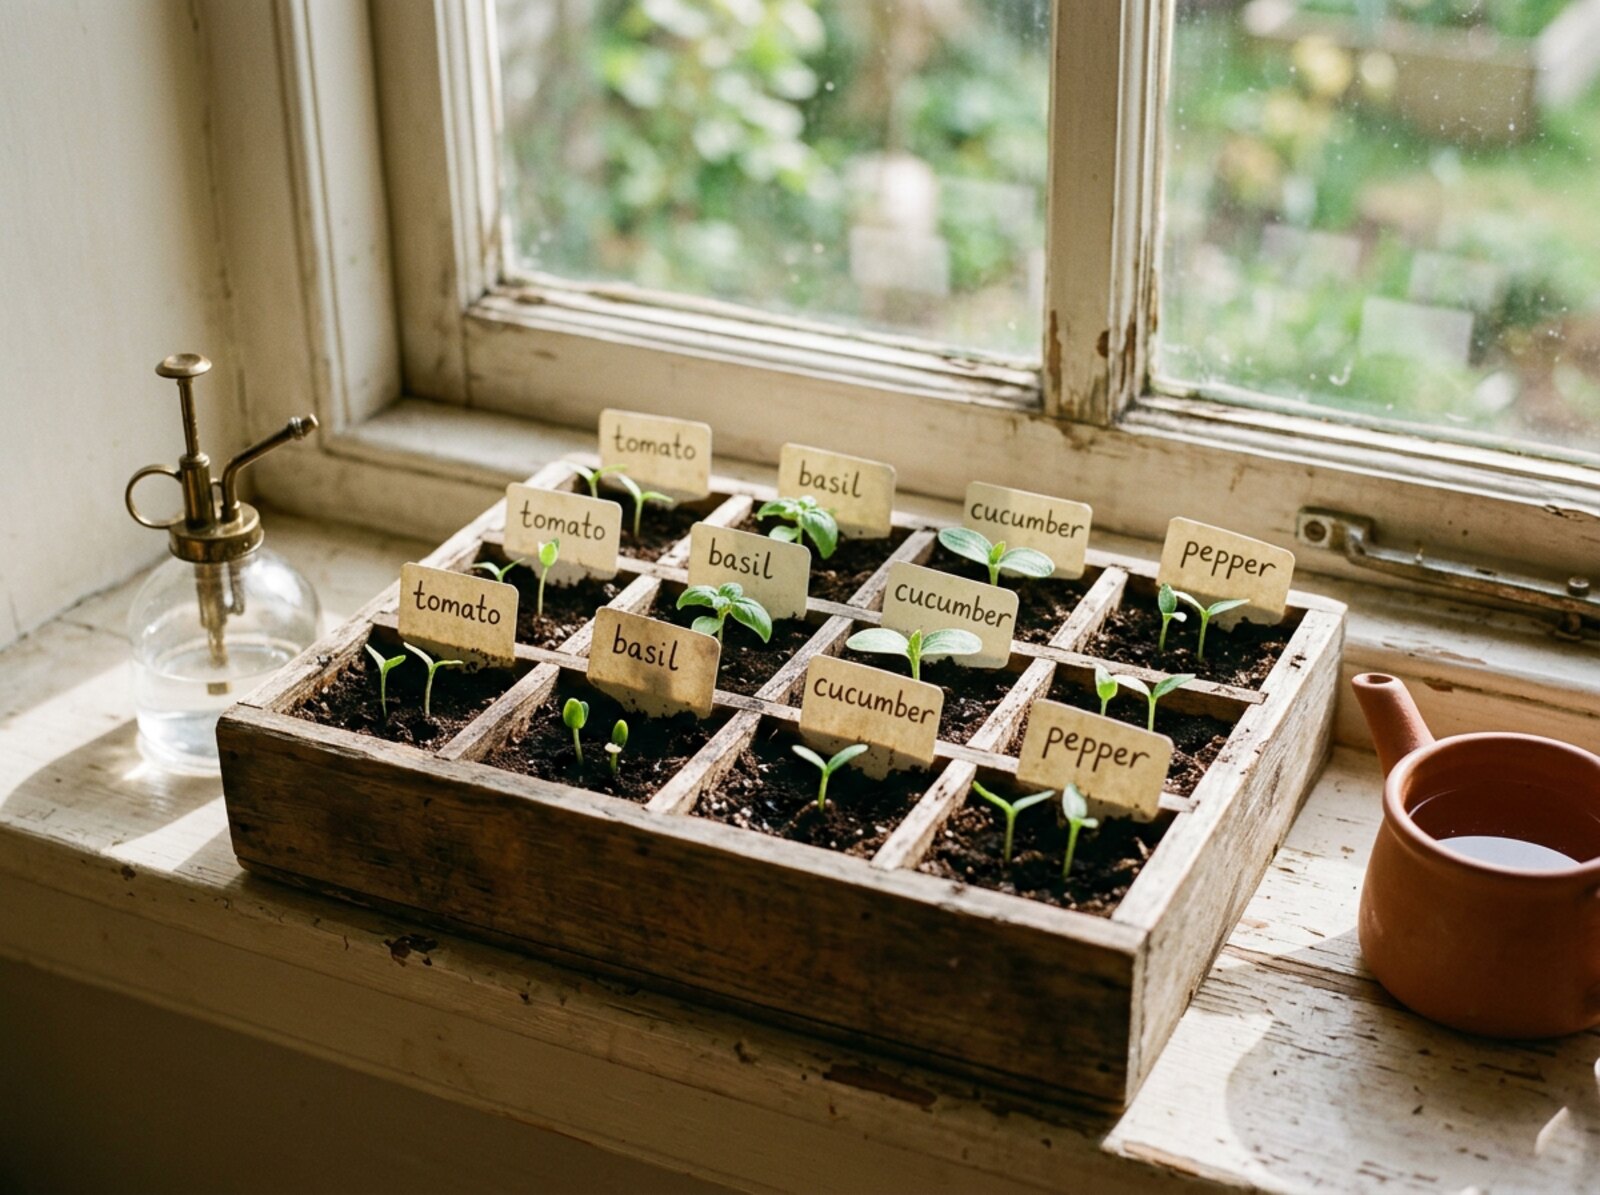
Tomato, cucumber, basil, pepper. If you can grow these four well, you’ve unlocked summer dinner. Here’s how I do each one.
Tomato
- Start indoors: 6–8 weeks before your last frost.
- Depth: ¼ inch, covered lightly with seed mix.
- Germination: 5–10 days at 75–85°F. A heat mat speeds this up.
- Transplant outside: when nights stay above 50°F and seedlings are 6–8 inches tall. Bury them deep — up to the lowest set of leaves — because tomatoes root along any buried stem. This single trick produces dramatically stronger plants.
- In the planting hole: a tablespoon of crushed eggshell and a handful of compost.
- Spacing: 24–36 inches apart in the bed. Cage or stake them on day one — it’s painful to do later.
- Water: deep and consistent. Inconsistent watering is what causes cracked fruit and blossom-end rot.
- Pinch suckers: the little shoots that grow in the V between the main stem and a branch. Pinch them out weekly on indeterminate varieties — the plant puts that energy into fruit instead of foliage.
Cucumber
- Start indoors: 3–4 weeks before last frost — or direct-sow outside two weeks after last frost. Cucumbers don’t love being transplanted, so use peat or paper pots that go right into the soil.
- Depth: ½ inch.
- Germination: 7–10 days at 70–85°F.
- Transplant outside: when nights are reliably above 55°F.
- Spacing: 12 inches apart along a trellis. Growing them vertically saves space, keeps fruit clean and straight, and makes harvest a joy.
- Water: they’re mostly water themselves. Consistent deep watering and a thick mulch layer.
- Harvest: early and often. The more you pick, the more the plant produces. Let one go too long and it tells the whole vine the season is over.
Basil
- Start indoors: 4–6 weeks before last frost. Basil hates cold soil.
- Depth: ⅛ inch — barely covered. Press it into the surface and mist.
- Germination: 5–10 days at 70–80°F.
- Transplant outside: only after nights are above 55°F. Cold will stunt basil for the rest of the season.
- Spacing: 10–12 inches apart. Plant a row alongside your tomatoes.
- Pinch the tops: as soon as a plant has six leaves, pinch out the growing tip. It branches and doubles. Do this every couple of weeks. Never let it flower — once it flowers, the leaves turn bitter. Pinch off any flower buds the moment you see them.
- Harvest: daily if you can. Basil rewards the harvester. The more you cut, the bushier it gets.
Pepper
- Start indoors: 8–10 weeks before last frost — the earliest of the four. Peppers are slow.
- Depth: ¼ inch.
- Germination: 7–21 days at 80–85°F. They really want a heat mat. Below 70°F many won’t germinate at all.
- Transplant outside: when nights are consistently above 60°F — two to three weeks after your last frost. Don’t rush it. A pepper sulking in cold soil is a pepper that will under-produce all summer.
- In the planting hole: eggshell again — peppers need calcium too — plus a small handful of compost.
- Spacing: 18–24 inches apart. Stake them — a loaded pepper plant is heavier than it looks.
- Pinch the first flowers: if a young plant tries to flower before it’s knee-high, pinch the flowers off. You’ll get a much bigger plant and far more fruit later.
- Water: steady, not soggy. Mulch heavily.
The hardening-off step nobody warns you about
Before any seedling moves from windowsill to garden, give it a week to toughen up. Set the tray outside in a sheltered spot for an hour the first day, two the next, and so on. Bring it back inside each night. After 7–10 days it’s ready for the bed. Skip this step and you’ll watch the plants you fussed over for two months get sunburned in an afternoon.
What I’d do this weekend
If today were the day, I’d sketch the bed on the back of an envelope, order cedar from the lumberyard, pick up one bag of organic compost and one bag of seed-starting mix on the way home, and put a seed order in with one of the companies above tonight. By next Saturday I’d have a bed built, seeds in trays on the windowsill, and a small pail under the kitchen sink starting to fill with vegetable scraps.
None of this is complicated. It just takes the first move. The garden teaches the rest.
“To plant a garden is to believe in tomorrow.”
That belief — in tomorrow, and in our own hands — is, I think, the real reason we grow food at home.
— Morgan